
How to: fix a punctured bike tyre

Having just bought a new bike – a Mongoose California Special with Skyway Tuff II mags – this BMX bandit is back riding for the first time in years. But what if I run over a three-corner jack and get a flat? It’s time for a refresher course on how to fix a punctured bike tyre.
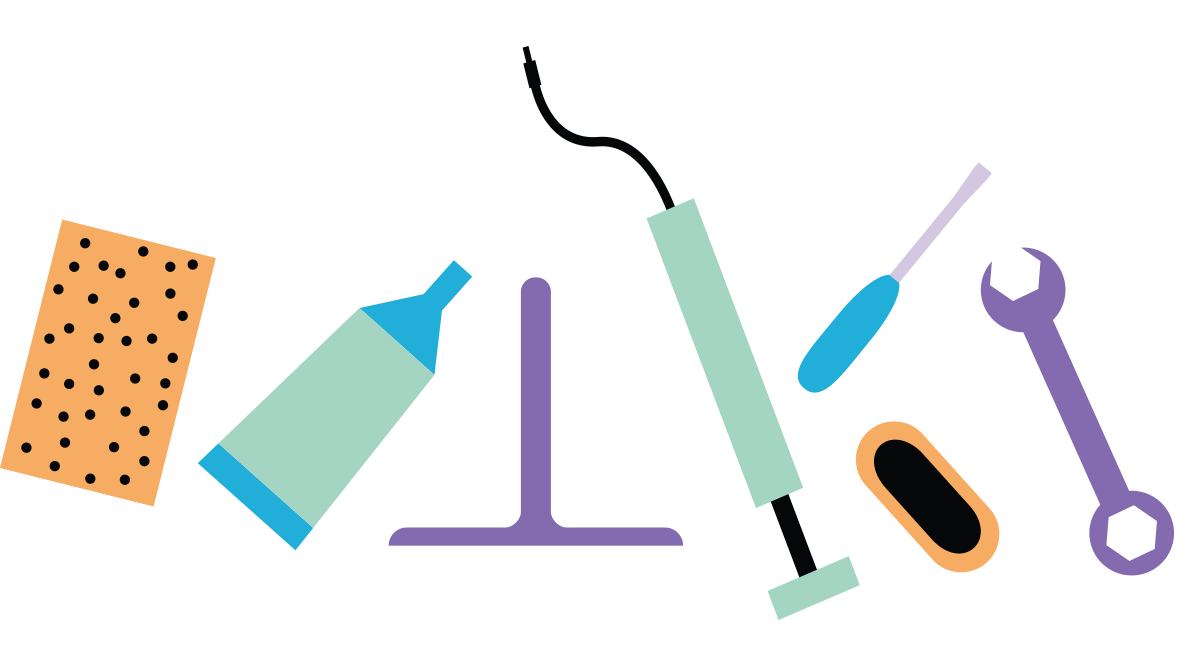
1. Tools of the trade
Always be prepared. Make sure your bike is serviced and in condition before you head out on a ride. It’s also important to pack a puncture repair kit in case you get a flat. This will usually include a tube of glue (some patches don’t need glue), sandpaper or rasp, adhesive patches, two tyre levers and instructions to take you through the whole process step-by-step.
You’ll also need a pump, pen, a suitable spanner if the wheels aren’t quick release, and a stick of chalk. Ready? Now it’s time to get to work.
2. Prep the tube
Disconnect the brakes at the calliper (rim brakes only) before removing the wheel and completely deflating the tyre. Insert the tyre lever between the tyre and rim, making sure it’s well away from the valve.
Be careful not to pinch the tube. Lift the tyre over the rim, and then insert another lever further along and run it around the edge of the tyre to pop it off the rim. This helps remove the valve from the rim and the tube from the tyre.
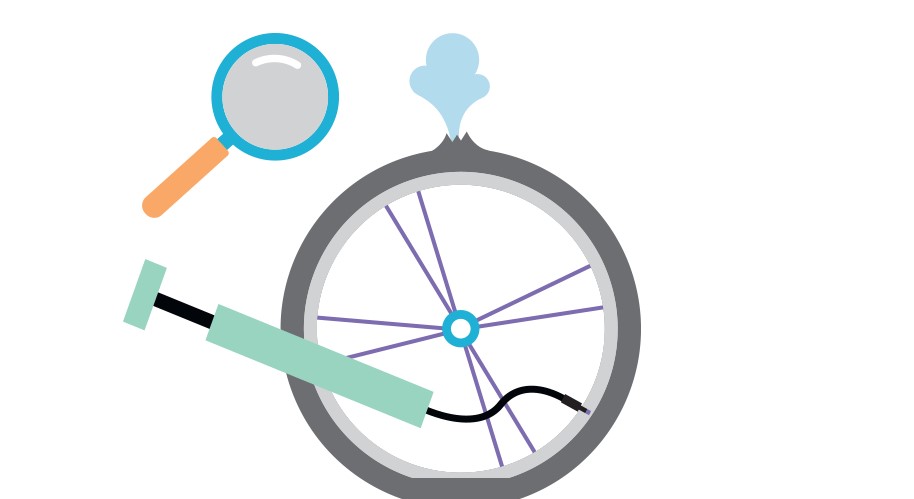
3. Find the puncture
Here comes the tricky bit. Pump up the tube and listen carefully for any escaping air. Psshhh… hear that? It’s your puncture. Check the whole tube for any more punctures (because you really don’t want to go through this hassle all over again).
Highlight the puncture area with a pen – X marks the spot.
4. Fix it fast
Take the sandpaper or rasp and gently rub it over the puncture, covering an area greater than the patch. Apply a thin amount of glue to this section and, once it’s dry to touch, place an adhesive patch over the puncture.
Press firmly for about a minute to keep it in place, then rub chalk over the excess glue so it doesn’t stick to the inner surface of the tyre. That should do the trick.
5. Back on track
You’re almost there. Carefully check the inside of the tyre to make sure the villain of this piece isn’t causing any more trouble. Gone? Good. Time to put the tube back inside the tyre on the rim.
Once that’s done, pump it up, then put the wheel on and reconnect the brakes. Spin the wheel to make sure it’s not rubbing against the brakes or frame. After some final checks, you’re good to go. On your bike!
Need bike parts?
RAA members get 5% off selected bikes and 10% off parts and accessories at Bike Express.